I’ve been running Octoprint for about a year now and it’s a great tool for making your printer smarter. A couple of days ago i stumbled across this guide https://learn.adafruit.com/3-dot-5-pitft-octoprint-rig/overview from adafruit on how to make a Octoprint rig with a touchscreen. I’ve immediately liked the idea since the MP select mini is lacking controls on the printer during a print.
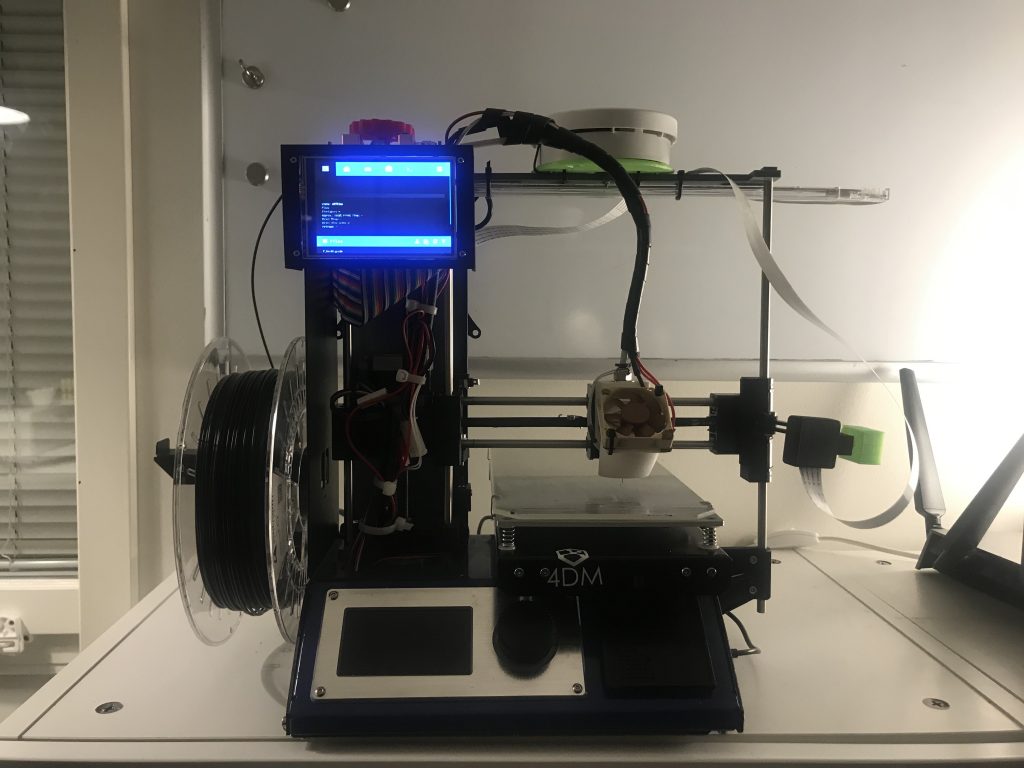
I knew i didn’t want the Octoprint rig detached from the printer, so heres what i’ve come up with. The Raspberry Pi will be attached to the back of the printer with this solution (LINK) and the screen will be attached using this solution. Then a GPIO-ribbon cable will be run thru the machine connecting the Raspberry Pi to the screen. The Raspberry Pi has the GUI-version of Octoprint (Raspberry Stretch) installed and on boot it automatically loads into a script that shows the Octoprint webpage in kiosk-mode.


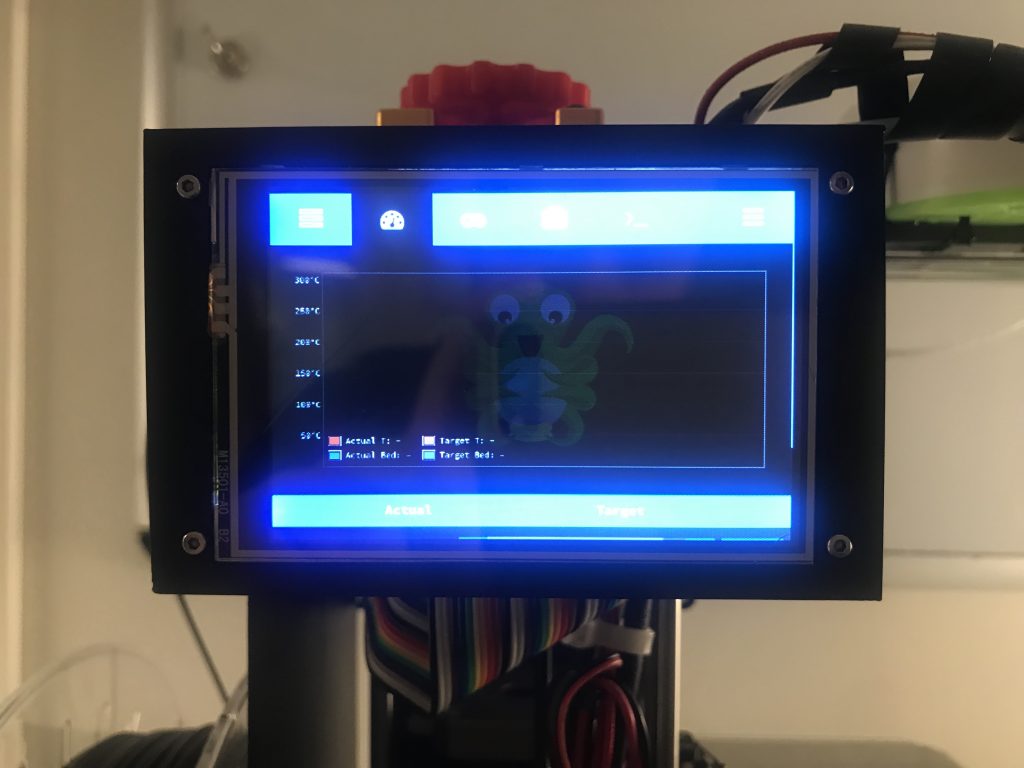
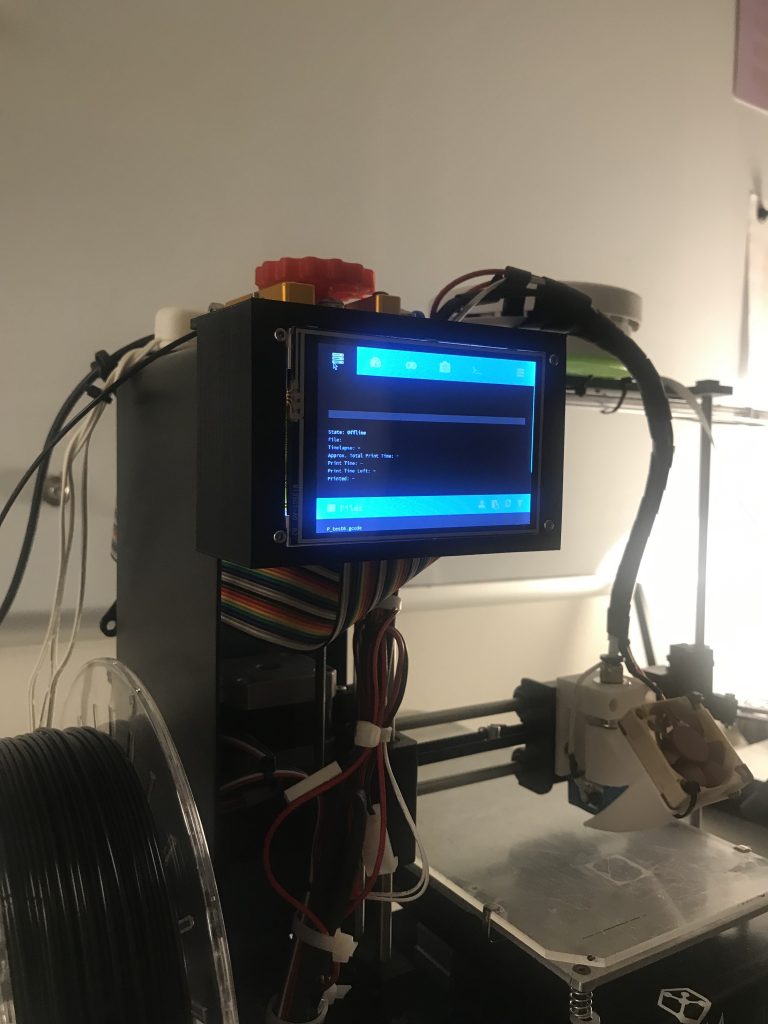
This 3.5″ touchscreen is mounted on the top of the printer with a GPIO-ribbon cable running to the Raspberry Pi on the back. It works really well with the TouchUI for Octoprint.
This tutorial will go in depth on how to install the software to make this work. It will not focus on the 3D-printed back part and the basics of Raspberry. There are plenty of guide for it on youtube.
To make this you will need the following parts for the MP select mini:
3D-printer screen case for the PiTFT Plus 480×320 3.5″
Raspberry Pi (SD-card, USB-cable for power, USB-cable to the printer)
3D-printed case for the Raspberry Pi
PiTFT Plus 480×320 3.5″
40pin Male to Female IDC GPIO Rainbow Ribbon Cable
4 M2 screws + 4 m2 nuts
4 M3 screws + 2 M3 nuts
Step 1 – Install Octoprint with the GUI-version of it.
Start by mounting the Raspberry Pi to the 3D-printed case for it. Mount it to the back of the printer using two M3 screws.
Bring out the SD-card, format it and install Octoprint using this guide here: https://octoprint.org/download/
Plug the SD-card into the Raspberry Pi and ssh into the Raspberry. Head to Octoprint using your local ip adress and configure it. Also make sure you install the TouchUI-plugin for Octoprint.
Now it’s time to upgrade Octoprint to the GUI-version of Raspbian Stretch. It’s necessary for having the browser show Octoprint on the screen. SSH in to the Rasberry pi and Octoprint will prompt you with the command to perform the upgrade.
Step 2 – Add support for the screen.
Turn off the Raspbian Pi and screw in the screen to the 3D-printed screen holder using 4 M2 screws and nuts. Pull the GPIO-ribbon cable thru the printer and connect it to the Raspberry Pi and the screen. SSH in to the Raspberry pi and run the following code.
cd ~
wget https://raw.githubusercontent.com/adafruit/Raspberry-Pi-Installer-Scripts/master/adafruit-pitft.sh
chmod +x adafruit-pitft.sh
sudo ./adafruit-pitft.sh
For more information on this, see https://learn.adafruit.com/adafruit-pitft-3-dot-5-touch-screen-for-raspberry-pi/easy-install-2
Alright, so right now you should have a working version of Raspberry Pi and the 3.5″ screen should be showing the GUI version of Raspbian.
Step 3 – Create a python bootscript
Now it’s time to create a script that autoruns on boot and shows Octoprint in kiosk-mode.
Start by SSH into your Raspberry pi and create a new file (i prefer nano and python)
sudo nano start.pyPast the following where XXXX is the URL to your Octoprint:
import os
os.system("DISPLAY=:0 sudo -u pi chromium-browser --kiosk --incognito http://XXXX &")
Save it and exit the nano-editor. Next up is to run this python script on boot:
sudo nano /etc/rc.localAnd add the following:
su -l pi -c 'startx' &
sleep 3;
DISPLAY=:0 sudo python /home/pi/start.py &
Save it and exit the nano-editor. Reboot the Raspberry Pi.
Step 4 – Unclutter and screensaver
The last two steps is to install unclutter and removal of the screensaver. Unclutter is for removing the mouse from the GUI and giving it a more touchscreen feeling. Removal of the screensaver because it’s just annoying. I prefer to have the screen go blank rather than to show a screensaver.
Install unclutter:
sudo apt-get install unclutterFor removing the screensaver we don’t need to install anything. Now we’re going to remove the screensaver and add unclutter to run on boot.
sudo nano /etc/xdg/lxsession/LXDE-pi/autostartAdd @unclutter somewhere in the file and uncomment by adding a # before @xscreensaver -no-splash, i.e:
#@xscreensaver -no-splashStep 5 – Done
You are now done and the Raspberry Pi should now boot up Octoprint and show the Octoprint in the screen with the TouchUI. Enjoy!
Feel free to add feedback or comments below!