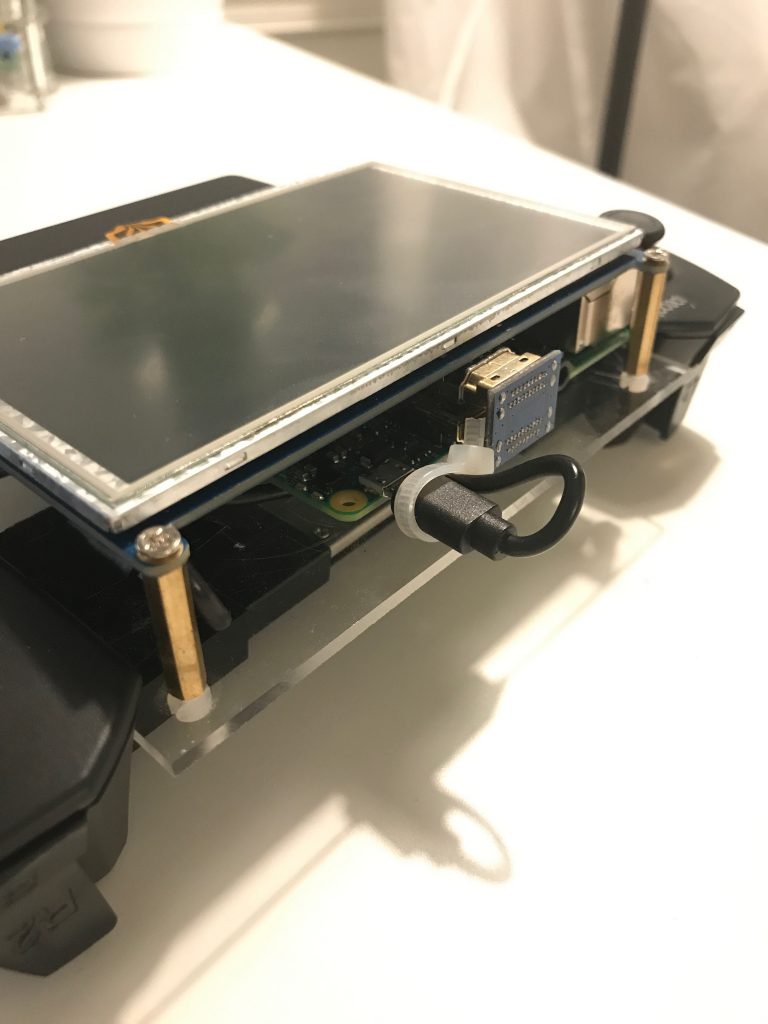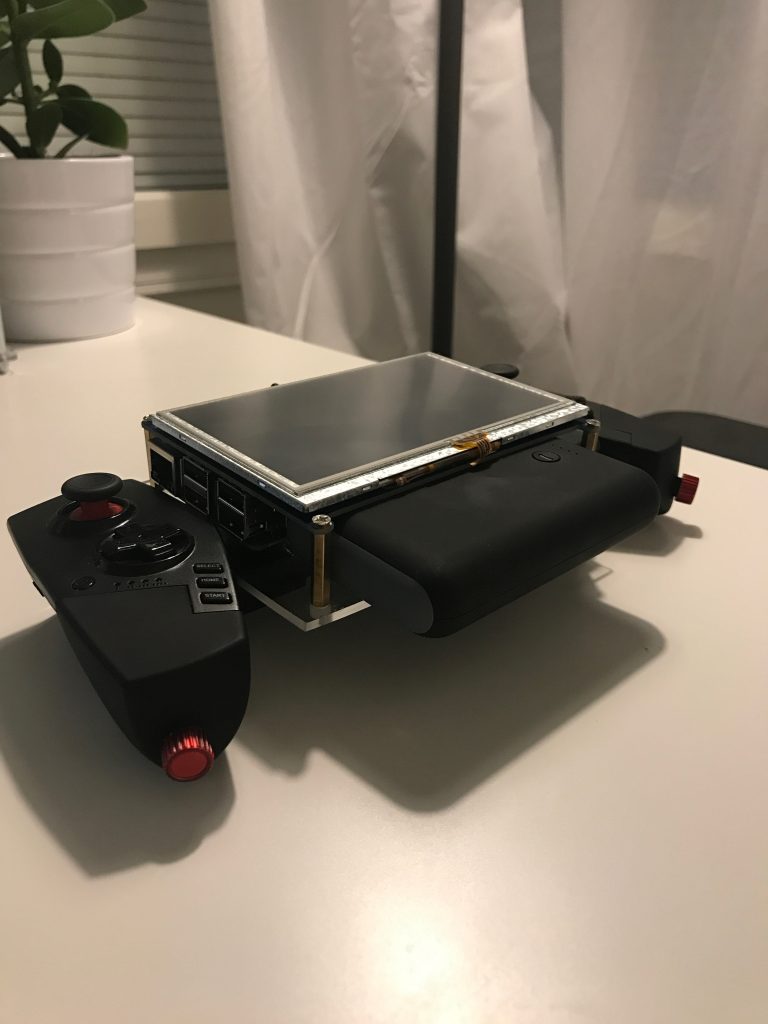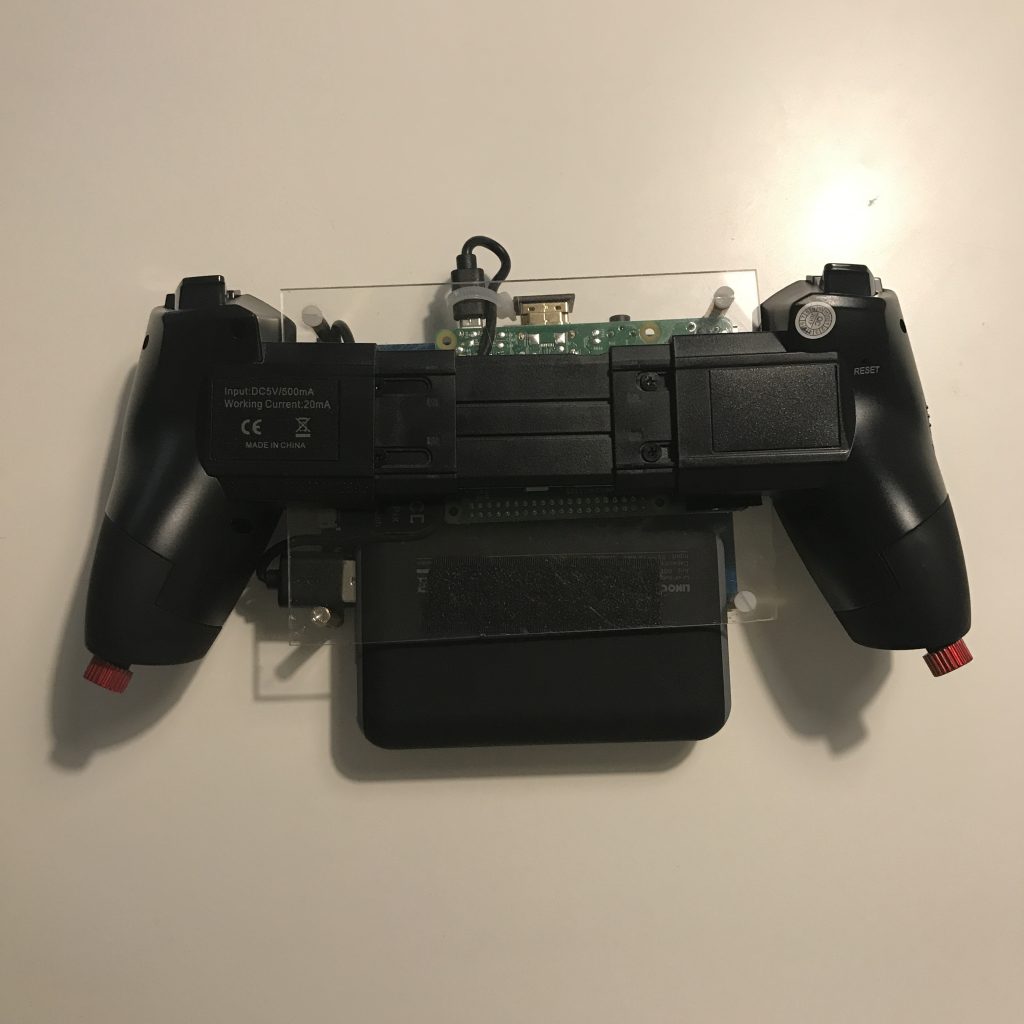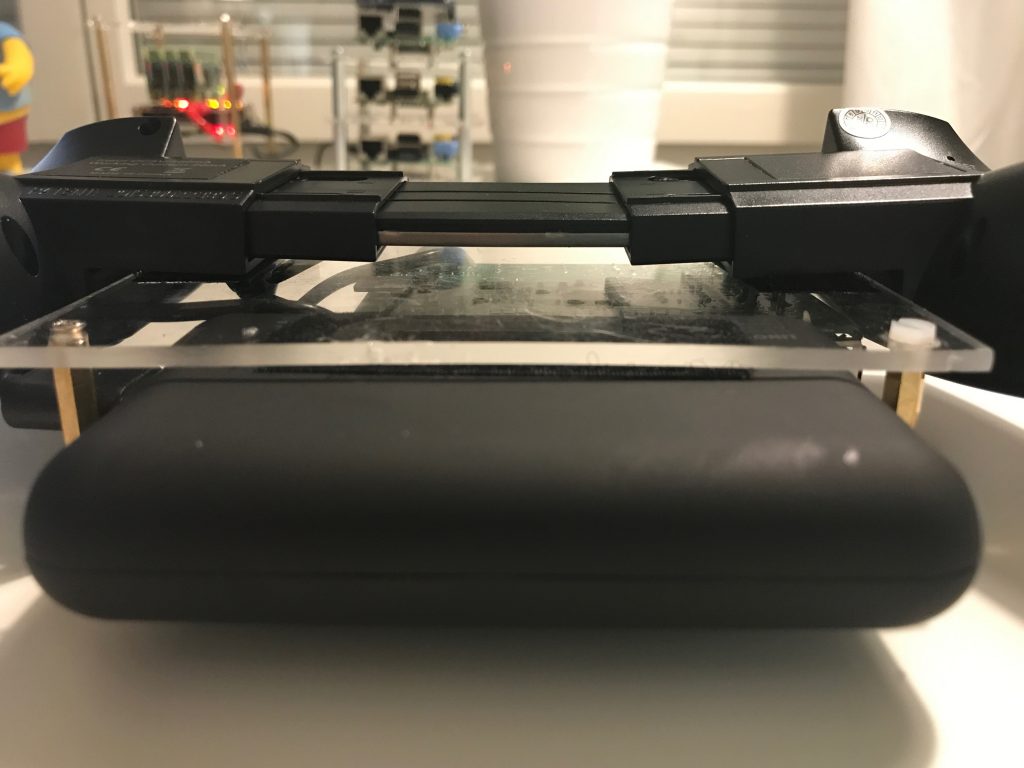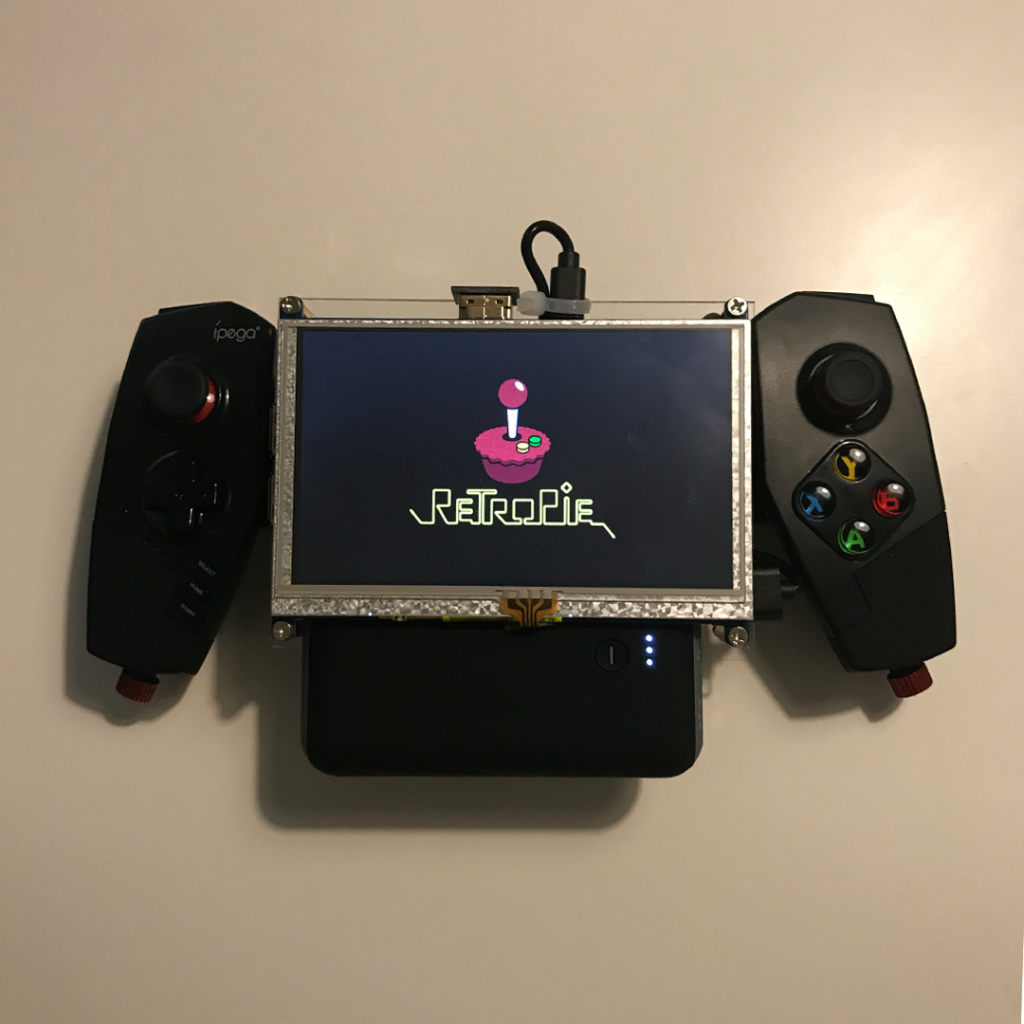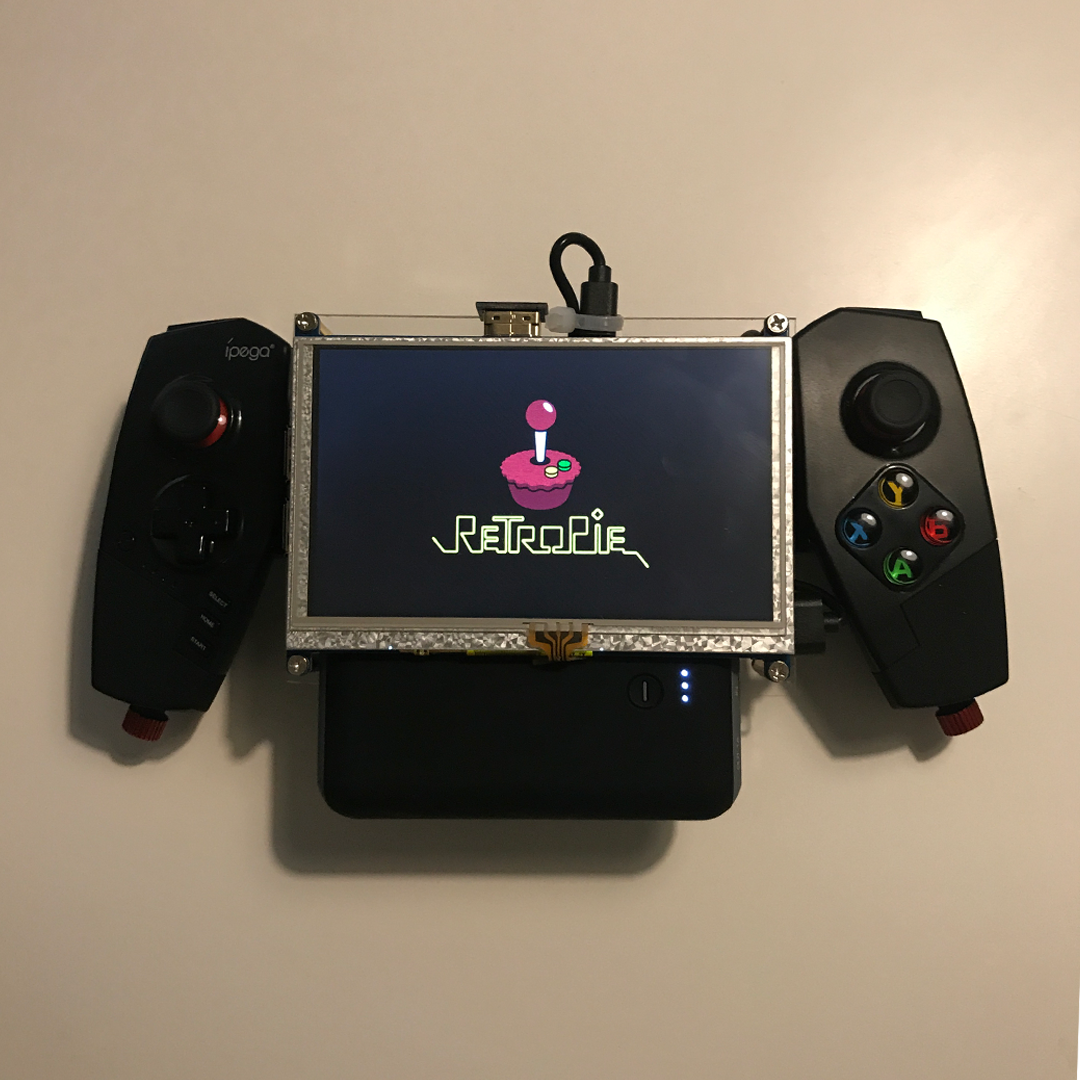
A couple weeks ago i decided to make an handheld Retropie that can run old games like SNES Roms etc. This is a simple guide for making your own!
What you will need:
- 1 Raspberry Pi 3
- 1 Micro USB cable
- 1 Micro SD-card
- 1 Raspberry Pi LCD Display Module 5inch
- 1 IPEGA PG-9055 Adjustable Wireless Bluetooth Controller
- 1 Battery-pack (2,1 A with On/Off button)
- 1 Plexiglas sheet; 3mm thick, 94mm tall and 128mm long
You will also need to following:
- A screwdriver
- Some double-sided velcro
- Access to a computer
- A USB-keyboard
Step 1 – Assemble
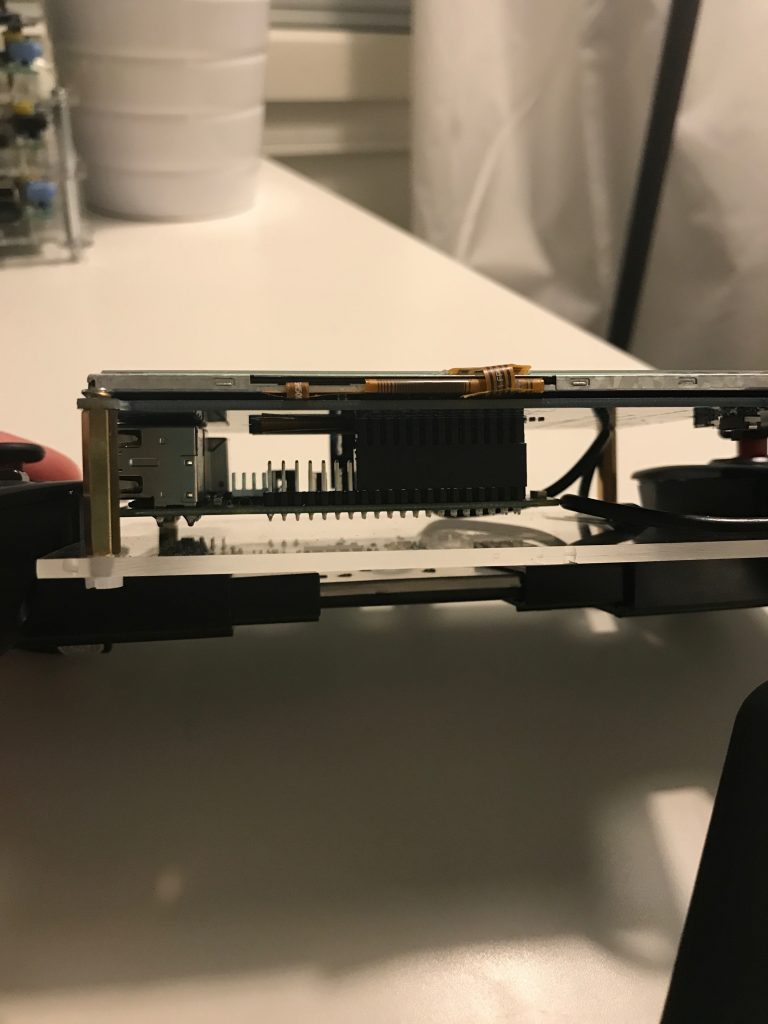
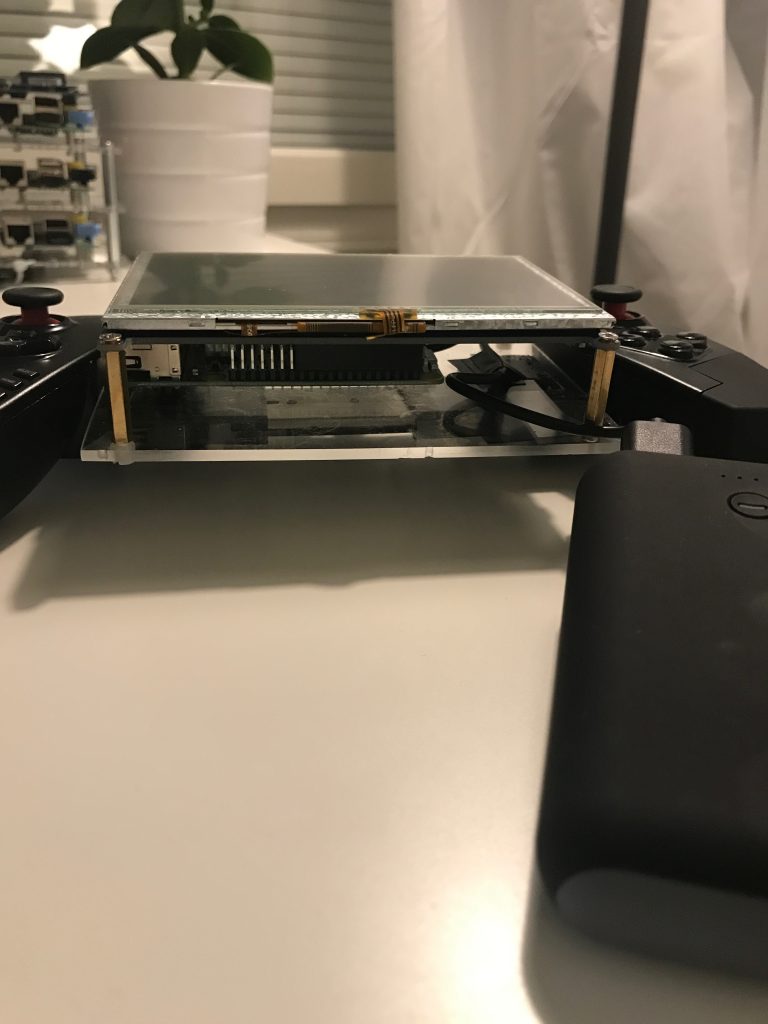
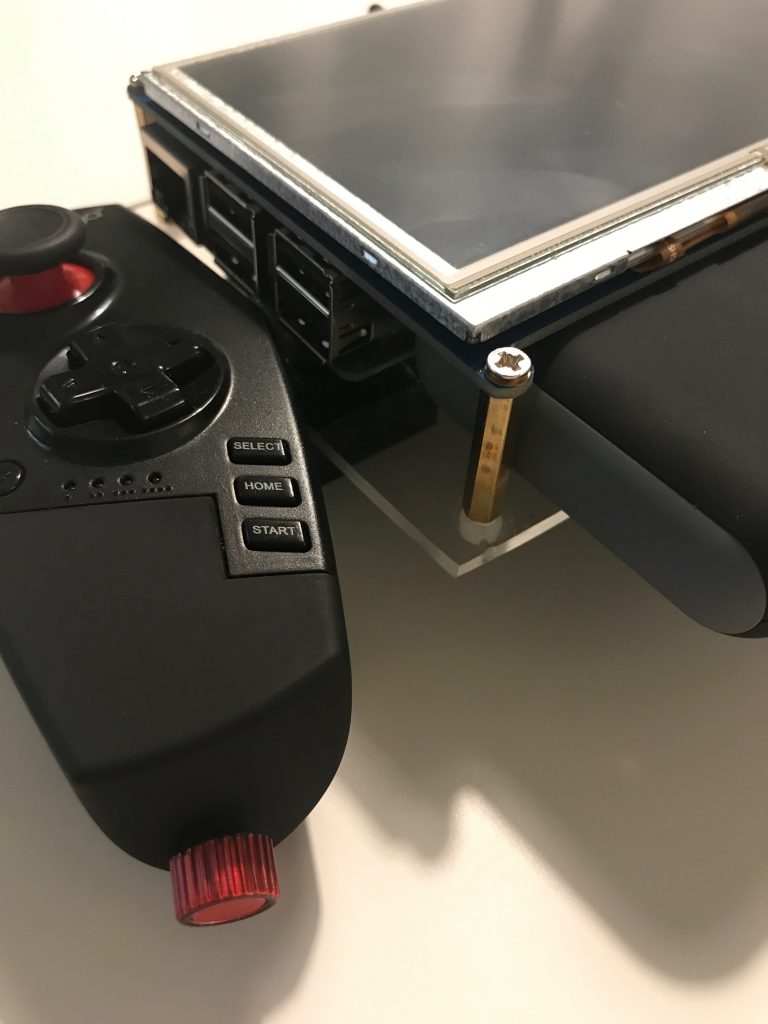
Once you have gotten ahold of all the stuff you need it’s time to start making the build! I took my LCD-display and made holes in my plexiglas so i could mount the LCD on to the plexiglas. After that it’s pretty self explaining. The gamepad and the battery-pack is attached with double-sided velcro, so i easily can remove the parts, here are some images of the complete build.
Step 2 – Configurations on Retropie
After assembly it’s time to do some work with the SD-card. Start by downloading the latest version of Retropie to your computer. After that you will need to flash your SD-card. Fortunately Raspberry.org has a sweet guide on this.
Once you have flashed your SD-card with the latest version of Retropie you need to mount the SD-card to your computer and edit the file called ”config.txt” in the boot-partition. In this file you’ll need to put the following in order to make the LCD screen to work:
hdmi_group=2
hdmi_mode=87
hdmi_cvt 800 480 60 6 0 0 0
hdmi_drive=1

max_usb_current=1
In the boot-partition you will also want to create a blank file called ”ssh”. The file should have no content and no extensions. This file is for enabling SSH to your Retropie.
Step 3 – Pair the controller
Plug in your USB-keyboard to your Raspberry Pi and boot it up. Once it’s fully booted click the ”RetroPie Configuration”, then go down to ”Bluetooth”.
Before making any further adjustments make sure that your IPEGA PG-9055 Controller is in the ”Android”-mode. There’s a physical switch on the left side of the controller. Once that is done, hold the ”Home”-button for 5 seconds to start the controller. There should be two blue lights flashing once the controller is on.
Back to the Retropie, first click ”Register and Connect to Bluetooth Device”. The RetroPie will now search for your controller. Once it finds it click it to register it to the RetroPie. Once you’ve clicked ”OK” you will get a second prompt, here you want to select ”NoInputNoOutput”. You should now be prompt that the pairing is done with the controller and the blue lights on your controller should be solid.
Back in the Bluetooth devices configure select ”Set up udev for Joypad (required for joypads from 8Bitdo etc)” and hit OK. Choose the PG-9055 controller again and hit OK. Then in the configure device choose ”Configure bluetooth connect mode”. Here you want to select ”background”. Hit ok. The configuration is now almost done! Hit cancel and go back to the Retropie UI. Klick ”Start” on your controller and go down to ”Quit” -> ”Restart system”.
After you reboot you might notice that the lights are off on the IPEGA controller, which is expected. Hold the Home-button for 2 second to connect it to the Raspberry Pi. We now need to configure the controller. Hit Start on your keyboard and go down to ”Configure input”. Hold A on the IPEGA controller and set it up as you want it to by hitting the buttons on your IPEGA controller.
Once done with this, you should be able to use the controller in the Retropie UI. It’s time for the final configuration for the controller! Again, go to ”RetroPie configuration” and then ”RetroArch”. Enter the menu and scroll down to ”Settings” -> ”Driver” -> ”Joypad driver”. Make sure the ”Joypad driver” is set to ”sdl2”. Then go back, twice, and hit ”Configurations”. And here you want to save the configuration. Then go back and exit RetroArch.
Step 3 – Done
You are now done! Wohoo! You can now add games to your Retropie by SSH’ing in to your device and upload them to your Raspberry Pi. I wont go in to detail on how to do this, but if you are not familiar with this then google has the answers :-).
A big shoutout to ETA PRIME for coming up with this idea. Make sure to check out his channel.
Feel free to comment below for feedback or questions.
